Travel Photography Guide: Camera Settings, Composition & Storytelling Tips
Travel photography presents a common trap: coming home with thousands of photos and only a handful worth keeping. Great travel photography isn't about shooting everything you see. It's about capturing the spirit of a place through intentional composition, understanding light, and telling stories that make viewers feel like they're standing right there with you.
What You'll Learn
This guide covers everything you need to master travel photography on film—from essential gear and camera settings to composition techniques, lighting strategies, cultural storytelling, and workflow tips. Whether you're shooting landscapes, street scenes, or portraits of locals, you'll find actionable advice to capture images that convey the essence of every destination.
Who This Guide Is For
Photographers (beginners to intermediate) who want to document their travels with compelling images, tell visual stories about the places they visit, and create lasting memories without lugging around excessive gear or missing the experience.
The challenge and reward of travel photography
Here's what makes travel photography challenging: unfamiliar locations, unpredictable conditions, limited time, and you can't come back tomorrow if the light isn't right. You're juggling landscapes, portraits, street scenes, and architecture all while actually experiencing the place.
When you nail it though, you create images that transport viewers to that exact moment. Travel photography rewards those who balance technical skill with cultural awareness, and planning with the willingness to get lost.
Essential equipment for travel photography
The best travel photography gear is gear you'll actually carry. Here's what matters.
Camera body requirements
For travel photography, compact matters. The Olympus Mju II fits in your pocket and delivers sharp results—perfect for street scenes and environmental portraits. The Yashica T4 offers excellent Carl Zeiss optics. The Contax T2 provides premium build and razor-sharp images.
For more control, the Nikon FE2 accepts interchangeable lenses and offers reliable metering. The Pentax 67 delivers exceptional medium format quality if you're willing to carry the weight. Budget option: any compact point-and-shoot with working meter.
Lenses that work
A 35mm f/2 or 28mm f/2.8 handles most travel situations—wide enough for landscapes, fast enough for street photography. A 50mm f/1.8 works for portraits and details.
Film stocks & accessories
Portra 400 is the workhorse—excellent latitude, natural colors, handles mixed lighting. Portra 160 offers finer grain and rich colors for bright conditions. Ektar 100 provides saturated colors for landscapes. Kodak Gold delivers warm tones and vintage photo character at lower cost.
Essential accessories: compact tripod, polarizing filter, lens hood, spare batteries.
Camera settings for travel photography
Travel photography demands adaptability. Start here, then adjust based on what you're shooting.
Exposure & metering
Meter for midtones and trust your film's latitude. Portra 400 has 5-6 stops of latitude.
Settings recipe:
- Film: Portra 400 (ISO 400)
- Aperture: f/5.6 to f/8
- Shutter speed: 1/125 to 1/250
- Metering: Center-weighted on midtones
For landscapes, use f/8 to f/11. For portraits, open to f/2.8 to f/4. For low light, push Portra 400 to ISO 800 or use Portra 800.
- •Film: Portra 400 (ISO 400)
- •Aperture: f/5.6 to f/8
- •Shutter speed: 1/125 to 1/250
- •Metering: Center-weighted on midtones
Focus technique
Use split-prism focusing screen for precision. For static subjects, focus on the key element. For street photography, zone focusing at f/8 (set to 10 feet for sharpness from 6 to 20 feet) lets you shoot quickly.
Film handling & technique
Travel photography burns through film—2-3 rolls per active day. At $15-20 per roll, shoot intentionally but bracket important shots.
Track your frames to avoid running out mid-moment. When down to 5 frames, consider reloading before that perfect sunset.
Composition & creative techniques
Technical settings get you sharp, well-exposed images. Composition makes them memorable.
Framing & perspective
Use the rule of thirds—place your subject or horizon on grid lines rather than dead center. This creates visual interest.
Get closer than you think you should. Fill the frame, eliminating distractions. A tight shot of a local artisan tells a stronger story than a wide shot where they're lost.
Change your perspective: shoot from ground level for scale, climb high for context. Different angles make your work stand out.
Leading lines & shapes
Look for elements that guide viewers into your image. Roads, rivers, pathways, architectural lines lead the eye from foreground to subject.
Frame using natural elements. Doorways, windows, archways create frames within the frame. Wait for someone to walk into that frame.
Reflections add interest—puddles, windows, calm water create creative opportunities.
Depth & layering
Use three layers: foreground, midground, background. The foreground draws viewers in, midground contains your subject, background provides context.
For landscapes, include rocks or textures in foreground. Shoot at f/8 to f/11 to keep layers sharp.
Genre-specific composition tips
Environmental portraits: include context but make the person prominent. Shoot at f/4 to f/5.6.
Architecture: keep vertical lines straight. Include people for scale.
Street photography: anticipate moments where light and human elements intersect. Shoot at f/8 for zone focusing.
Lighting techniques for travel photography
You can't control the weather or time of day when traveling, but you can work with what you get.
Natural light strategies
Golden hour (first hour after sunrise, last hour before sunset) provides soft, warm light perfect for travel photography. The golden hour aesthetic creates rich colors and gentle shadows. Scout at midday, shoot at golden hour.
Conditions:
- Bright sun: use for dramatic shadows and saturated colors, or seek open shade for portraits
- Overcast: soft light works for portraits, though landscapes may lack drama
- Open shade: diffused natural light flatters people without squinting
- Blue hour: perfect for cityscapes with lights
Position subjects so side light creates dimension. Window light indoors provides beautiful directional illumination for portraits.
- •Bright sun: use for dramatic shadows and saturated colors, or seek open shade for portraits
- •Overcast: soft light works for portraits, though landscapes may lack drama
- •Open shade: diffused natural light flatters people without squinting
- •Blue hour: perfect for cityscapes with lights
Artificial light & challenging scenarios
Travel photography rarely uses flash. When needed, bounce it off walls for soft fill light.
For night photography, embrace available light. Use a tripod and longer exposures.
Midday sun: shoot in open shade for portraits. For architecture, embrace harsh light and strong shadows.
Mixed lighting: Portra 400 handles tungsten and fluorescent reasonably well.
Low light: push Portra 400 to ISO 800 or use Portra 800. Accept grain—it adds character.
Travel photography workflow & shooting tips
A systematic approach helps you capture the essence of a place without missing the experience.
Research & planning
Research your destination beforehand. Google Image Search shows iconic viewpoints. Instagram reveals what locals photograph. Check sunrise/sunset times and scout on Google Maps.
Learn basic phrases: "Hello," "Thank you," "May I take your photo?"
During the shoot
Shoot a series: wide environmental shot, medium shot, tight detail. This creates cohesive vacation photos.
Be patient. Wait for better clouds, fewer tourists, someone walking into frame. Compelling work often comes down to waiting 10 more minutes.
Return at different times. Golden hour transforms everything.
Cultural awareness & respect
Always ask permission before photographing people up close. Smile, gesture to your camera.
Research local customs. Some sites prohibit photography. Respect these boundaries.
Buy something from vendors before photographing their goods.
Post-processing travel photography
Film scans from travel photography benefit from subtle enhancement that preserves the authentic film look.
Essential adjustments
Add 10-15% contrast to make images pop. Straighten horizons and correct perspective. Crop for stronger composition.
Genre-specific techniques
Landscapes: enhance saturated colors slightly, add clarity. Ektar 100 already provides rich colors—don't overdo it.
Portraits: soften skin gently, ensure eyes are sharp. Film renders skin beautifully with soft pastels.
Street photography: embrace grain and vintage photo aesthetic. Add contrast for drama.
Consistency & style
Choose an approach—warm and nostalgic, or vibrant—and apply it across images from each location. This creates cohesive vacation photos.
Common mistakes & how to avoid them
Even experienced travelers make these photography mistakes.
Mistake 1: Shooting only iconic landmarks
Photographing just famous sites results in images identical to thousands of others.
Solution: Shoot the iconic view, then explore. Find different angles, include local people, capture details others miss.
Mistake 2: Traveling too heavy
Bringing multiple cameras and lenses means you're less likely to use them. Weight makes you miserable.
Solution: Travel light. One camera, one or two lenses maximum. You'll shoot more when gear isn't a burden.
Mistake 3: Not researching beforehand
Arriving without knowing where to shoot wastes time. You end up at locations during harsh midday sun.
Solution: Research beforehand. Find viewpoints, check sunrise/sunset times, learn which locations work when.
Mistake 4: Missing the cultural context
Focusing only on landscapes misses what makes a place unique—the people and culture.
Solution: Photograph people, food, markets, details that convey local culture. Always ask permission and be respectful.
Pro travel photography tips & techniques
Once you've mastered the basics, these techniques take your work further.
Scout at midday, shoot at golden hour: Visit locations during harsh midday light to scout compositions and plan your shots. Return at golden hour when light is beautiful. This approach maximizes your time and ensures you're positioned perfectly when light is best.
Shoot color film for versatility: Portra 400 and Portra 160 handle varied conditions beautifully and can be converted to black and white later if desired. This flexibility is valuable when you can't predict every situation you'll encounter traveling.
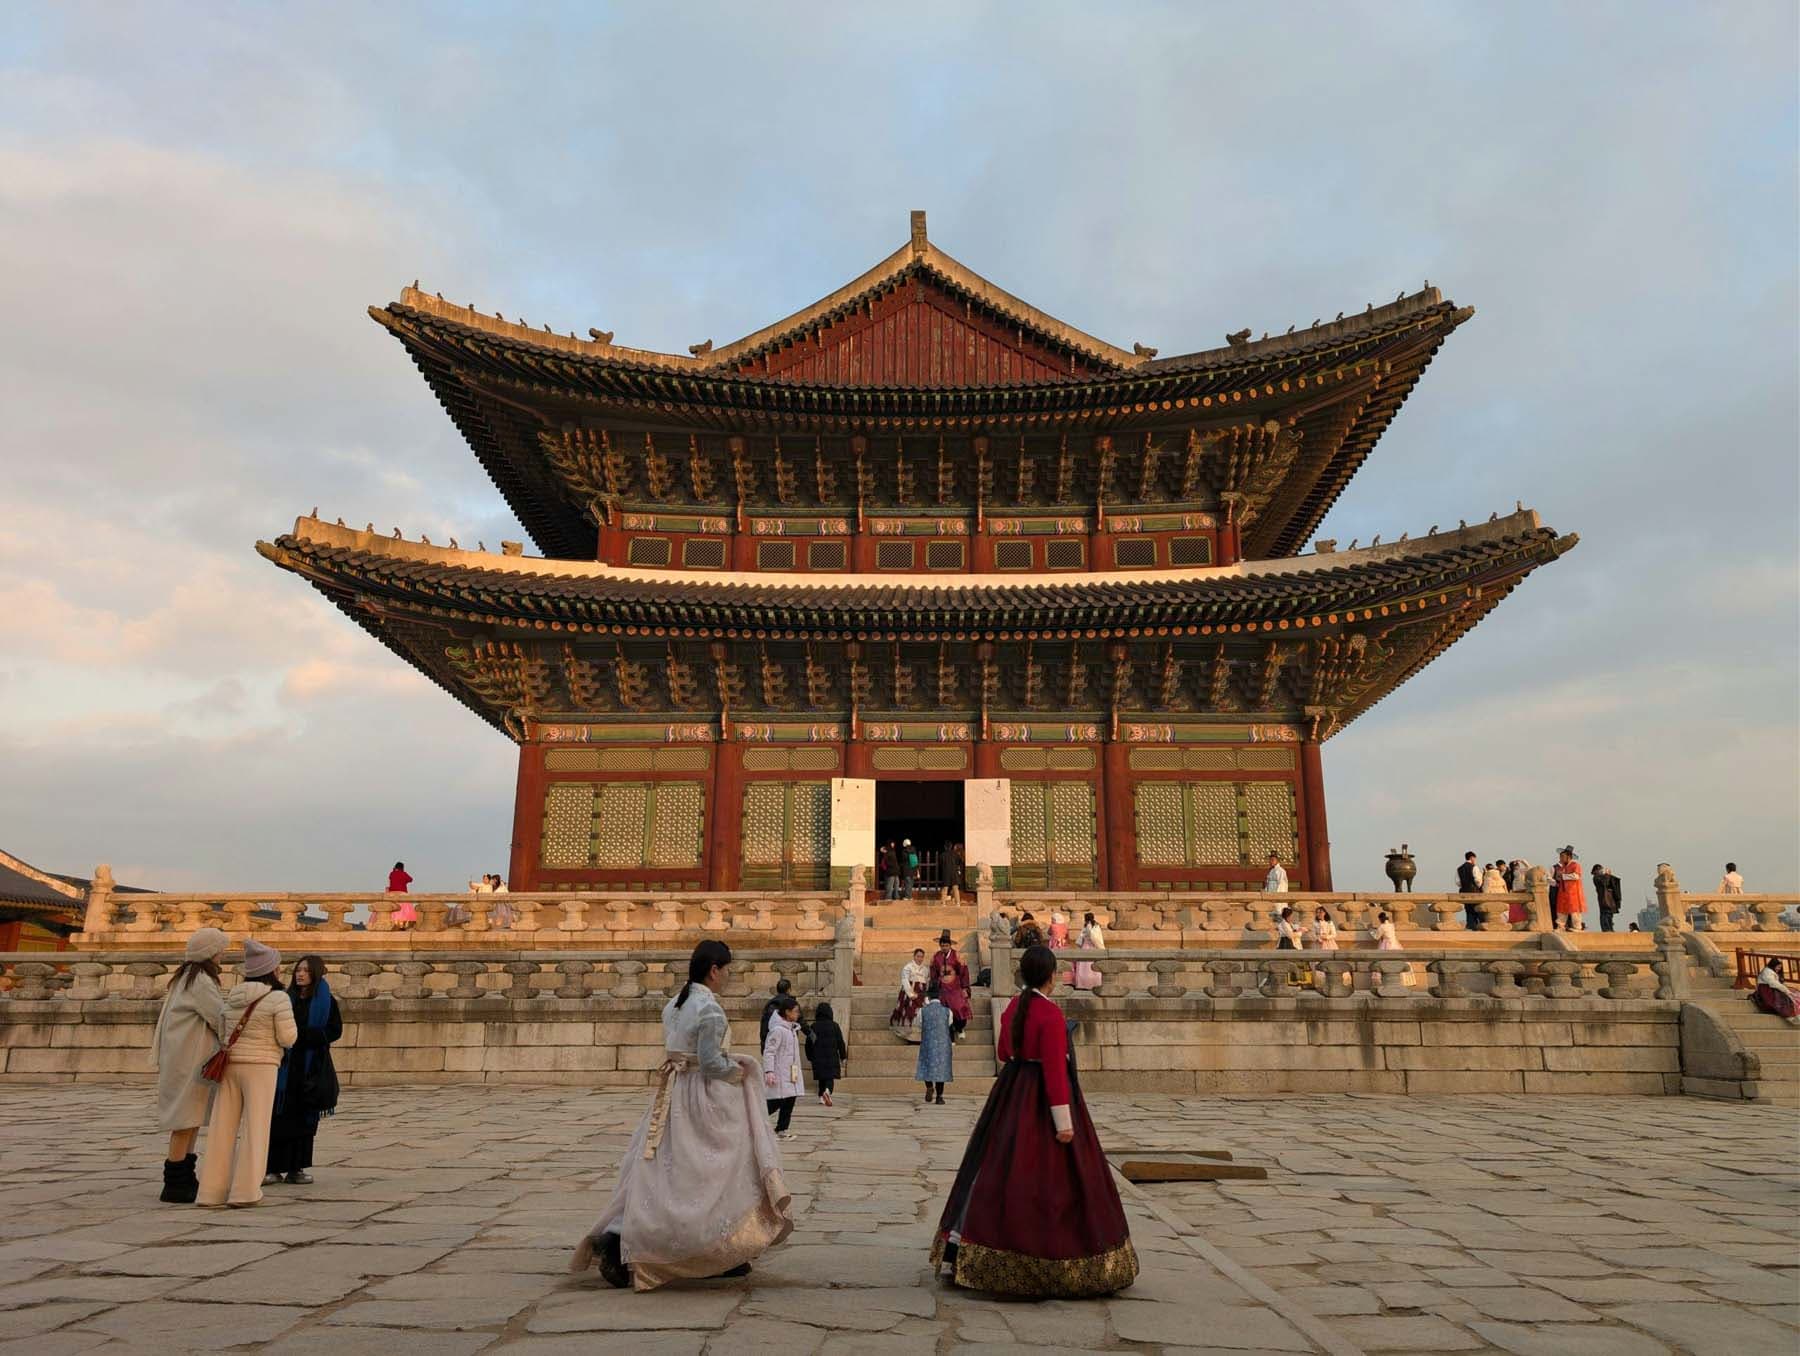
Include people for scale and emotion: Empty landscapes lack context. Including a person (even small in the distance) provides scale and makes viewers imagine themselves there. Environmental portraits that show people in their surroundings tell compelling stories.
Get lost on purpose: After shooting the famous spots, wander without a destination. The best travel photography often happens when you're exploring neighborhoods where tourists don't go. Check with locals that areas are safe, then just walk and observe.
Film's adventure, your pocket
Travel photography on film represents a special kind of artistry—the anticipation of not knowing if you nailed the shot until weeks later, the intentionality that comes from limited frames, the organic grain and soft pastels that make every image feel timeless. At Daydream, we've spent years studying how film renders light, color, and texture—the gentle highlight rolloff, the way Portra handles skin tones, the rich colors of Ektar—to bring authentic film emulation to mobile photography. We're not replacing film; we're making it accessible for those spontaneous travel moments when loading a roll isn't practical. Our app is free, with no subscription or ads, because we believe more people should experience what film photography offers. Whether you shoot travel photography with film, a phone running Daydream, or both—you're part of keeping the film aesthetic alive.
Gear recommendations summary
* Prices as of December 2024—always check current pricing. These are starting points, not requirements.
| Category | Budget Option | Mid-Range | Professional |
|---|---|---|---|
| Camera Body | Used point-and-shoot ($50-150) | Olympus Mju II ($200-400) | Contax T2 ($500-800) |
| SLR Option | Pentax K1000 ($100-200) | Nikon FE2 ($300-500) | Pentax 67 ($800-1500) |
| Primary Lens | 50mm f/1.8 ($50-100) | 35mm f/2 ($200-400) | 28mm f/2 ($300-600) |
| Film Stock | Kodak Gold ($8-10/roll) | Portra 400 ($12-15/roll) | Portra 160 ($12-15/roll) |
FAQs (intent catchers)
What are the best camera settings for travel photography?
For travel photography on film, start with Portra 400, aperture f/5.6 to f/8 for balanced depth, and shutter speed 1/125 to 1/250 for handheld shooting. Meter for midtones using center-weighted metering. These settings work for most travel situations—landscapes, street scenes, casual portraits. For low light, open to f/2.8 or f/4 and accept slower shutter speeds (use a tripod below 1/60). For action, increase shutter to 1/500 or faster.
What camera is best for travel photography?
The best camera for travel photography is compact, reliable, and produces sharp images. The Olympus Mju II excels with its pocketable size, sharp 35mm f/2.8 lens, and automatic exposure—perfect for spontaneous travel moments. The Contax T2 offers premium build and exceptional image quality. For more control, the Nikon FE2 accepts interchangeable lenses while remaining relatively compact. Honestly, any camera you'll actually carry beats the perfect camera left in your hotel.
Should I bring a tripod when traveling?
A compact tripod is worth the weight for travel photography. It enables low-light shooting, long exposures of waterfalls or cityscapes, and self-portraits. Modern travel tripods like compact carbon fiber models weigh under 2 pounds and fold small enough for carry-on luggage. You won't use it every day, but for sunrise/sunset landscapes and blue hour cityscapes, it makes the difference between sharp and blurry images.
How do I photograph people while traveling?
Always ask permission before photographing people up close. Smile, make eye contact, gesture to your camera, or learn "May I take your photo?" in the local language. Most people say yes when approached respectfully. Buy something from vendors before photographing their goods. For candid street photography from a distance, be discreet and respectful. Research local customs—some cultures or religious sites prohibit photography.
What film stock is best for travel photography?
Portra 400 is the best all-around film for travel photography. It handles mixed lighting beautifully, offers excellent latitude for exposure mistakes, and renders natural colors and soft pastels. Portra 160 works for bright conditions with finer grain. Ektar 100 provides saturated colors and rich colors perfect for landscapes. Kodak Gold offers warm, vintage photo character at lower cost—great for travel on a budget.
How do I tell a story with travel photography?
Tell stories by shooting a variety—wide establishing shots showing the location, medium shots of people and activity, tight detail shots of food, crafts, or textures. Capture the culture through markets, street life, local people, and daily moments. Include environmental portraits showing people in their surroundings. Shoot at different times of day to show how a place changes. This variety creates cohesive vacation photos that convey the spirit of a destination.
What's the best time of day for travel photography?
Golden hour (first hour after sunrise, last hour before sunset) provides the best light for travel photography. The warm, soft light creates beautiful colors and gentle shadows. Sunrise is often better than sunset—fewer tourists, calmer conditions, and you can continue shooting after the sun rises. Blue hour (after sunset) works beautifully for cityscapes with lights. Avoid harsh midday sun for portraits, but embrace it for dramatic shadows in architecture and street scenes.
How do I travel light as a photographer?
Travel light by limiting yourself to one camera and one or two lenses. A compact point-and-shoot like the Yashica T4 or Ricoh GR1 fits in your pocket and handles most situations. If using an SLR, bring a versatile 35mm or 28mm lens—skip the telephoto unless you know you'll need it. Carry 5-10 rolls of film rather than multiple film stocks. Use a small camera bag that doesn't scream "expensive gear." The lighter you travel, the more you'll actually shoot.
Conclusion: Your travel photography journey
Travel photography demands balancing technical skill with cultural awareness, planning with spontaneity, and shooting with actually experiencing the place. Start with solid fundamentals—proper exposure, thoughtful composition, respectful approach to people and places.
Remember: the best travel photography happens when you're present in the moment, not just documenting it. Every photographer has come home with disappointing vacation photos. The difference is learning from those mistakes and approaching the next trip with better preparation and technique.
Next steps:
- Research your destination: find viewpoints, check golden hour times, learn local customs
- Pack light: one camera, one or two lenses, 5-10 rolls of film
- Shoot with intention: tell stories through variety of wide, medium, and tight shots
Travel photography rewards those who balance preparation with flexibility, technical skill with cultural sensitivity, and shooting with living. Your unique perspective on the places you visit matters. Now get out there and capture the world.
- •Research your destination: find viewpoints, check golden hour times, learn local customs
- •Pack light: one camera, one or two lenses, 5-10 rolls of film
- •Shoot with intention: tell stories through variety of wide, medium, and tight shots
Author notes (E-E-A-T)
Written by: Daydream Content Team—photographers with 15+ years shooting travel photography across 40+ countries including street scenes, landscapes, cultural documentation, and environmental portraits
Experience: Extensive travel work on film (Portra 400, Portra 160, Ektar 100, Kodak Gold) across diverse conditions from Arctic to tropical. Hundreds of rolls shot while traveling, covering everything from spontaneous street moments to planned landscape shoots.
Gear used: Olympus Mju II, Contax T2, Yashica T4, Nikon FE2, Ricoh GR1, various compact point-and-shoots. Primary film stocks: Portra 400 (workhorse), Portra 160 (bright conditions), Ektar 100 (landscapes), Kodak Gold (budget option).
Teaching background: Workshop instruction for travel photographers, focus on storytelling, cultural awareness, and working with available light in unfamiliar locations
Conflicts of interest: None. No affiliate relationships. Daydream app mentioned as complementary tool for travel photographers.
Related Topics
Coming Soon to iOS
Join the beta to experience authentic film photography with Daydream Film when we launch.